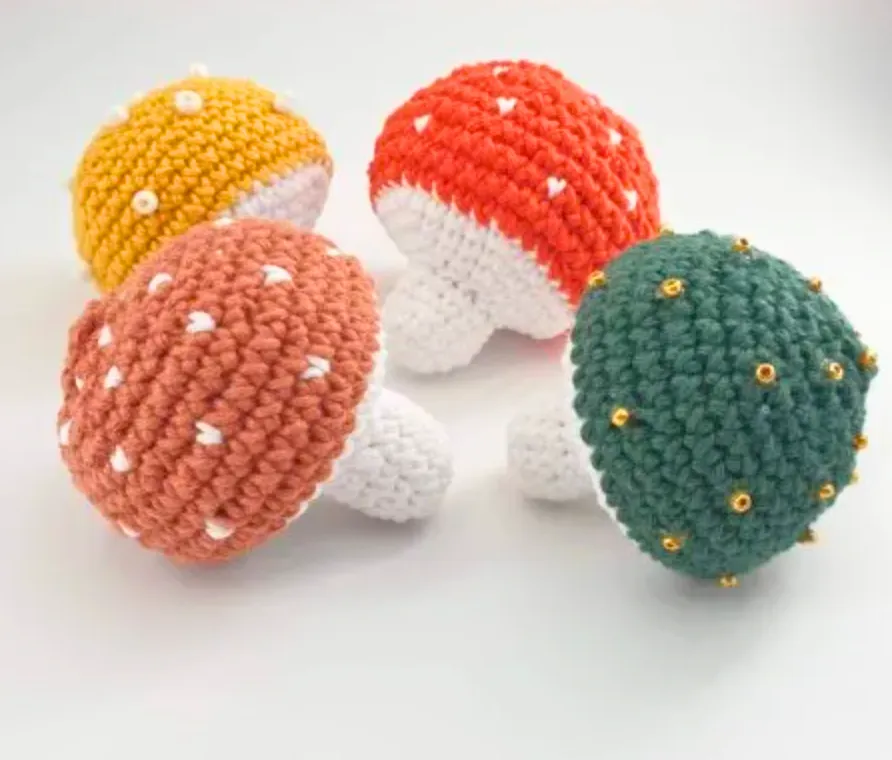
Mini Mushrooms crochet pattern
Materials
Find this pattern in our app with access to row counters, favorites, and much more.
Step by Step Instructions
Step 1
Medium thickness cotton thread in white and a contrasting color. 2.5mm crochet hook.

Step 2
Wool needle. Point markers.

Step 3
Optional sequins or felt for stains. Abbreviations.

Step 4
pc = string. pb = pb.

Step 5
P.S. = pd. inc = 2 sc in the same point.
Step 6
dec inv. = invisible decrease. pb2j = two pb together.
Step 7
FLO = front loop only. Final size.
Step 8
The mushroom is approximately 7 cm high. The project is worked in continuous rounds. Use a marker to mark the start of each lap.
Step 9
Let's start with the part: Stem. R1: 6 sc in a magic ring (6) R2: 1 inc w/st (12)
Step 10
R3-6: 1 sc c/st (12) R7 (FLO): 1 sc, 1 inc rep 6 times (18)
Step 11
R8: 2 sc, 1 inc rep 6 times (24) R9: 3 sc, 1 inc rep 6 times (30)
Step 12
R10: 4 sc, 1 inc rep 6 times (36) Change to contrast color.
Step 13
R11: 5 sc, 1 inc rep 6 times (42) R12: 1 sc c/st (42)
Step 14
Stuff the stem lightly to maintain firm shape without expanding the top. Hat.
Step 15
R13: 1 sc c/st, changing to white every 7th stitch (42) R14: 1 sc c/st (42)
Step 16
R15: 1 sc c/st, changing to white in the 4th stitch and then every 7th stitch (42) R16: 5 sc, 1 inv dec. rep 6 times (36)
Step 17
R17: 1 sc c/st, changing to white every 6th stitch (36) R18: 4 sc, 1 inv dec. rep 6 times (30)
Step 18
R19: 3 sc, 1 inv dec. rep 6 times, changing to white in the 2nd sc of each rep (24) R20: 2 sc, 1 inv dec. rep 6 times (18)
Step 19
R21: 1 sc, 1 inv dec. rep 6 times (12) R22: pb2j alr (6)
Step 20
Cut thread, pass through the stitches and close. Bring the thread to the center to slightly flatten the surface of the hat. Stains (Optional)
Step 21
You can add them in any of these ways. With white embroidered thread.
Step 22
With small pieces of white felt. With white sequins sewn on.
Step 23
Distribute irregularly for organic and natural look. Final assembly.
Step 24
Adjust the filling if necessary. Shape with your hands.
Step 25
Secure and hide all strands to finish. 5. Continue with the thread of your main color and drop or bring the white thread to the back.