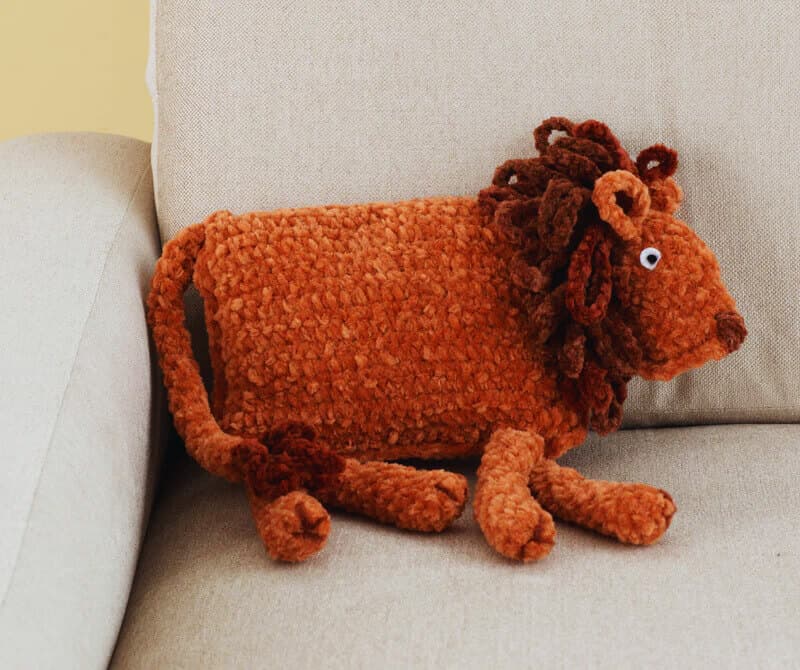
Lion King Pillow crochet pattern
Materials
Find this pattern in our app with access to row counters, favorites, and much more.
Step by Step Instructions
Step 1
BASE BODY: With terracotta yarn (A), ch 29. Work 38 rows of sc (28 stitches per row). This will create a large rectangle that we'll later fold to form the lion's cylindrical torso.
Step 2
HEAD CONSTRUCTION: ch 17. Work increases in rows 2-3 to shape the face and progressive decreases from row 10 to 14 to model the neck and chin.
Step 3
LIMBS (x4): Crochet the legs in the round with yarn A. Start with 5 sc in MR and increase to 10. Work straight until reaching 18 cm in length. Stuff lightly so they remain flexible.
Step 4
TAIL AND EARS: The tail is 28 cm long and ends with brick yarn (B) loops to simulate fur. The ears are 18-stitch circles folded in half to form semicircles.
Step 5
THE MANE: ch 42 with brick yarn. Create loops of different sizes (10, 15, and 20 chains) along the strip. This will give a voluminous and wild texture around the face.
Step 6
BODY ASSEMBLY: Fold the body rectangle in half. Join the edges with sc working through both layers and stuff with synthetic fiber before closing the last section.
Step 7
HEAD AND MANE JOINING: Fold the head, stuff it, and sew it to the body by the narrower end (neck). Wrap the mane strip several times around the neck and secure it with stitching.
Step 8
FINAL DETAILS: Sew the legs and tail. Cut white felt circles for the eyes and embroider a French knot in the center with black thread. Your lion is ready to reign on the sofa!