Key takeawaysOpen this summary to review the essential ideas.
- What materials do I need to make a granny square?
- You will need cotton yarn, a crochet hook, scissors, and a tapestry needle.
- How do I make the magic ring?
- Form a loop around your fingers, insert the hook, and pull the yarn to create an adjustable ring.
- How do I crochet a double crochet stitch?
- Make an initial chain, yarn over, insert the hook, yarn over again, and pull through the loops.
- How do I hide loose ends in my work?
- Use a tapestry needle to weave in the loose threads neatly.
- What projects can I make with granny squares?
- You can make patchwork blankets, decorative cushions, bags, and spring accessories.
Starting in the world of crochet can be challenging, but with patience and some practical tips, you can successfully create your first projects. In this tutorial, you will learn how to make a granny square, one of the most popular and versatile pieces in crochet, ideal for those embarking on this beautiful craft.
Granny squares are the foundation of many crochet projects, from blankets to accessories. They are perfect for practicing basic techniques and can be customized in color and size. Join me in this step-by-step journey where I will guide you through the process of creating a granny square.
Materials needed to make a granny square
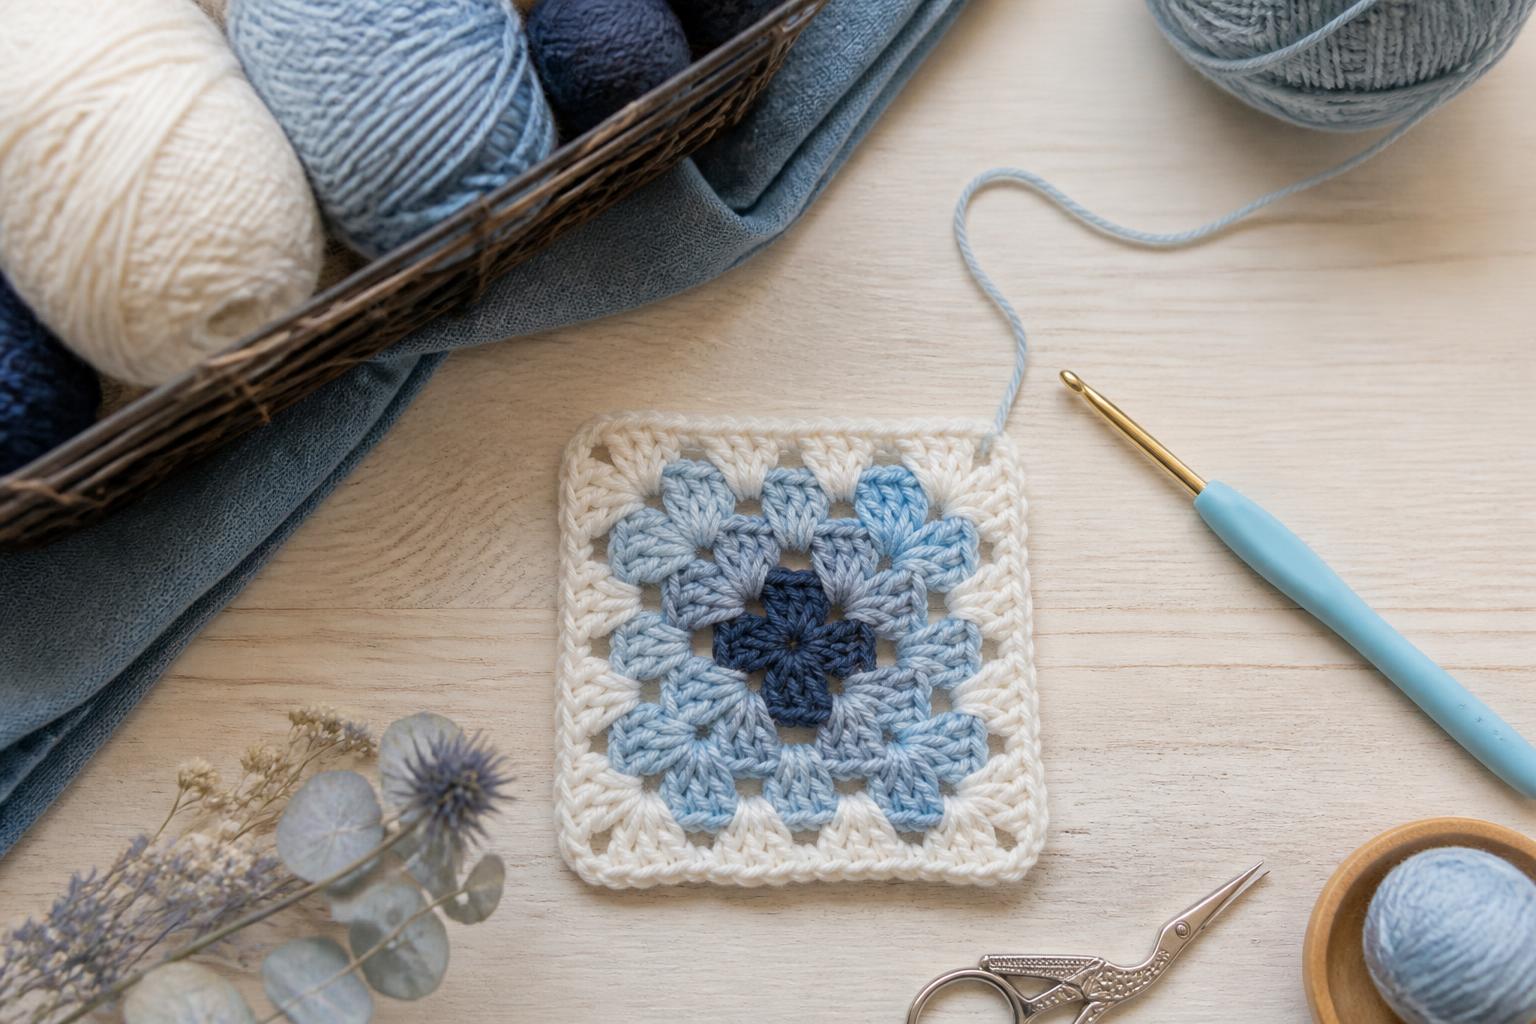
Before starting, it is essential to gather all the necessary materials. To make a granny square, you will need:
- Cotton yarn: A medium-sized yarn is ideal for beginners.
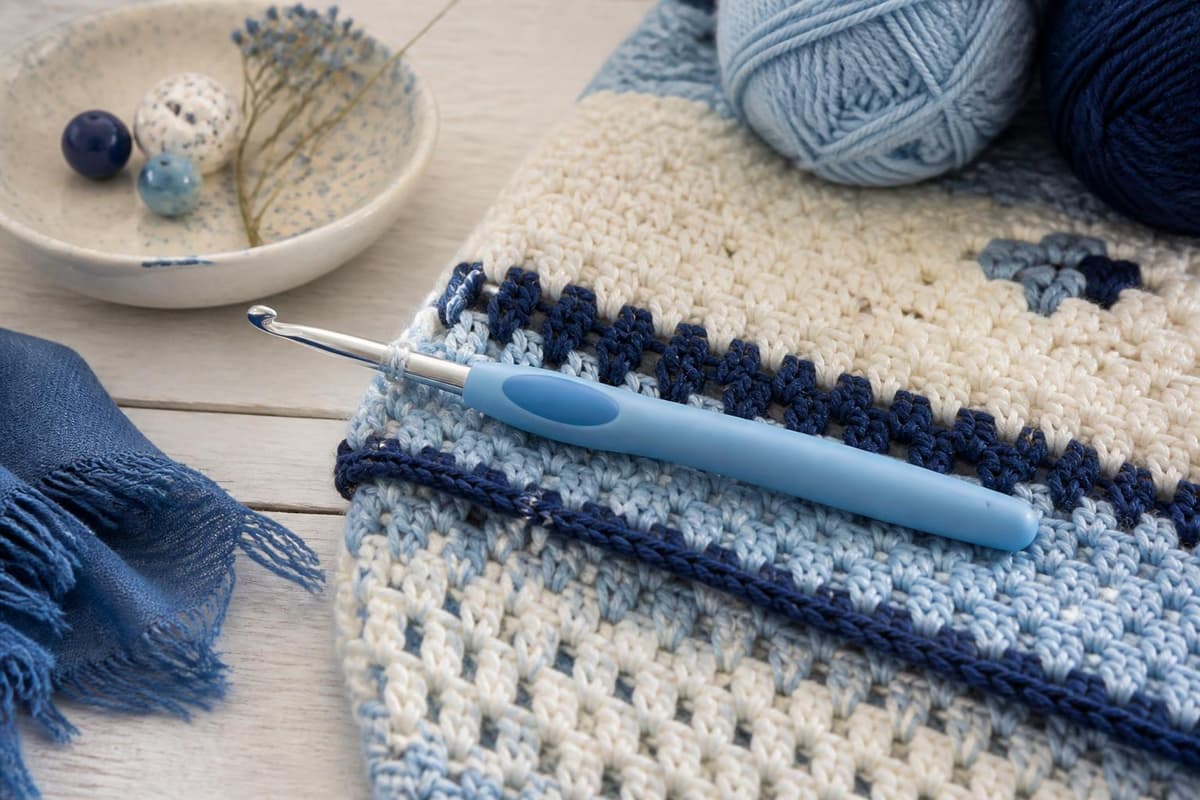
- Crochet hook: Choose a hook appropriate for the thickness of your yarn. Usually, a 4.5mm or 5mm hook is perfect.
- Scissors: To cut the yarn at the end of the project.
- Tapestry needle: For weaving in and securing the loose ends.
Gather these tools before moving on; this way, you will be ready to start your first granny square with confidence.
Step 1: How to make the magic ring
The magic ring is a fundamental method in crochet that will allow you to crochet in the center of your granny square. Learning this technique is crucial, as it will ensure that the first circle is adjustable, facilitating its final shape.
To make a magic ring, follow these steps: begin by holding the yarn between your fingers. Form a loop around your index and middle fingers. Then, insert the hook into the loop and pull the yarn to create a ring. Finally, secure it by making one or two chain stitches to start crocheting.
Step-by-step magic ring
Let’s review the process of making the magic ring in detail, step by step:
- Begin by holding the yarn between your fingers.
- Form a loop around your index and middle fingers.
- Insert the hook into the loop and pull the yarn to create a ring.
- Secure it by making one or two chain stitches to start crocheting.
Practice this technique several times to familiarize yourself with the motion and the shape of the ring. Remember: do not tighten the ring too much at first, as you need space to crochet your stitches.
Tips for the magic ring
If you have trouble with the magic ring, try practicing several times until you feel comfortable. Sometimes, it can be helpful to watch a video or ask someone who knows how to do it for help.
Practicing will make this technique easier and will help you create a solid foundation for your granny square.
Step 2: Crocheting the first rounds
Once you have mastered the magic ring, it’s time to start crocheting the first rounds. These are fundamental for shaping your granny square and activating your creativity. In this step, you will need to learn how to count chains and the double crochet stitches that you will be making. Remember that at the end of each round, it is important to change color appropriately if you want to add visually appealing elements to your piece.
Before you start crocheting, make sure to have all your materials organized at hand. A good work environment can make a great difference, so choose a comfortable place where you can concentrate. Don’t forget to have at least two colors of yarn if you want to experiment with patterns, and remember that practice will help you gain confidence.
How to crochet double crochet stitches
Crocheting double crochet stitches is essential in crochet, and they are done as follows:
Make an initial chain. Then, wrap the yarn around the hook and pick up the next chain. Yarn over and pull the yarn through the chain. Finally, repeat this process until you complete the desired round.
Changing colors in the rounds
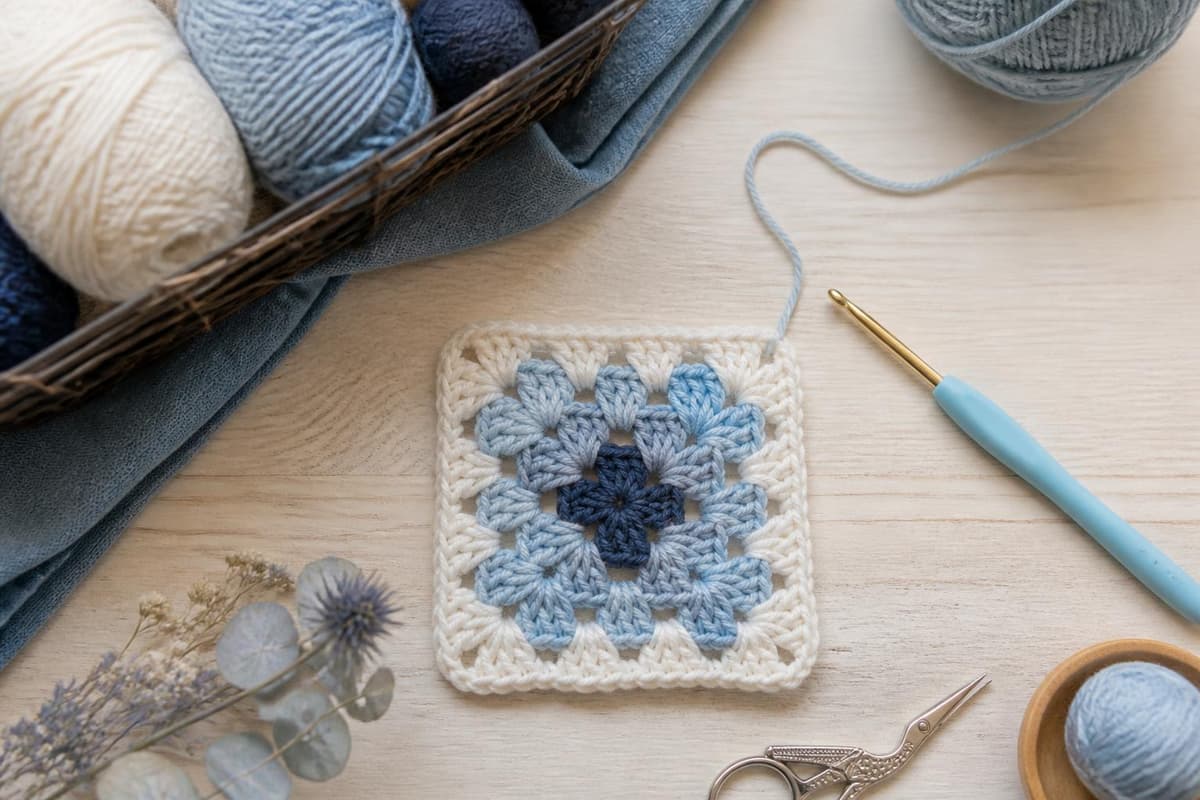
Changing colors in your granny squares adds a special touch. At the end of the round, cut the yarn leaving a long tail, and join the new color at the final chain.
Be sure to keep the yarn taut so that it doesn’t loosen as you proceed. This color change will allow you to create unique patterns and combinations in your projects.
Step 3: Finishing your granny square
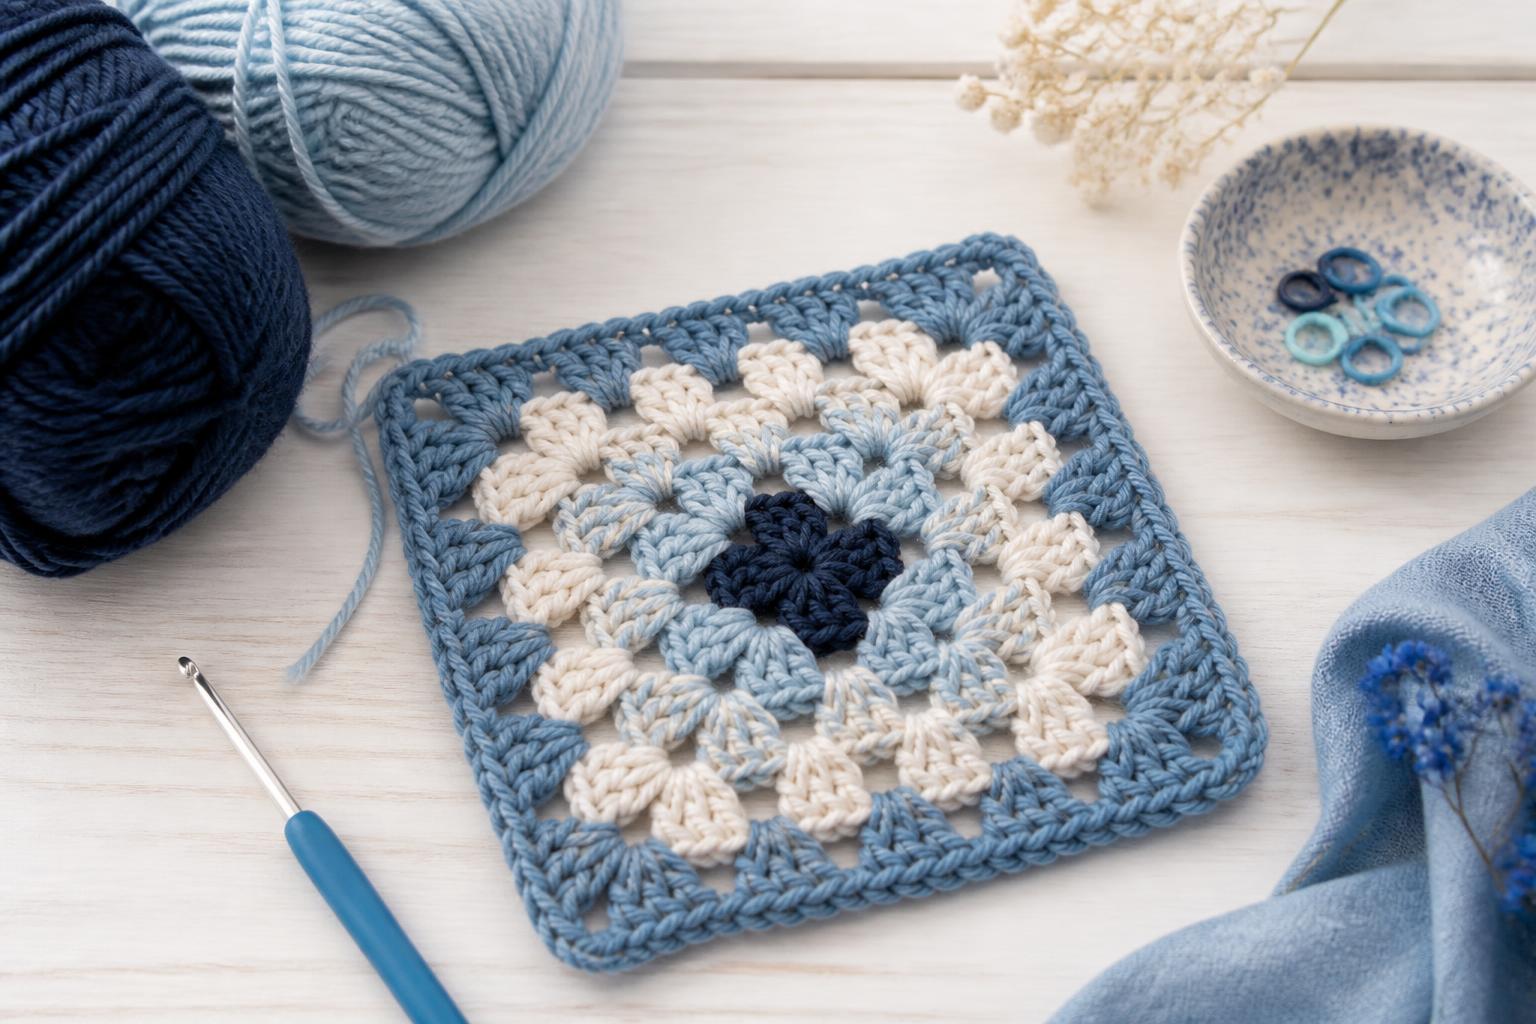
Once you have crocheted several rounds, it is important to close your granny square properly. This not only ensures that your work looks presentable, but also reinforces the durability of the piece. Make sure that all rounds are well-adjusted and that the size is as expected before closing.
To close the work, simply cut the yarn leaving enough length to weave in. Insert the hook into the first stitch of the round and yarn over, pulling through both loops on the hook. This way, you will ensure that your granny square maintains its shape appropriately.
How to close the granny square
The closure is a crucial part of the process. You must ensure that there are no loose ends that could unravel your work. Make a slip stitch in the last stitch, cut the yarn and secure it well.
At the end of the granny square, it is important to review each of the stitches you have crocheted. Sometimes, it is easy to overlook an error, so make sure all the corners are even and that the square has the correct shape. If you find any stitch that isn’t right, you can undo and re-crochet it before closing.
Don’t skimp on details, as a good closure will guarantee the durability of your piece. Use this moment to plan how you want to join or use your granny square in future projects, as each piece counts in the final design.
How to hide loose ends
Use the tapestry needle to weave in your loose threads. It is essential to do this neatly so that the finish of your granny square is attractive.
Remember that loose threads can affect the presentation of your final project, so be sure to hide them well by following the edges of the piece.
Project ideas with granny squares
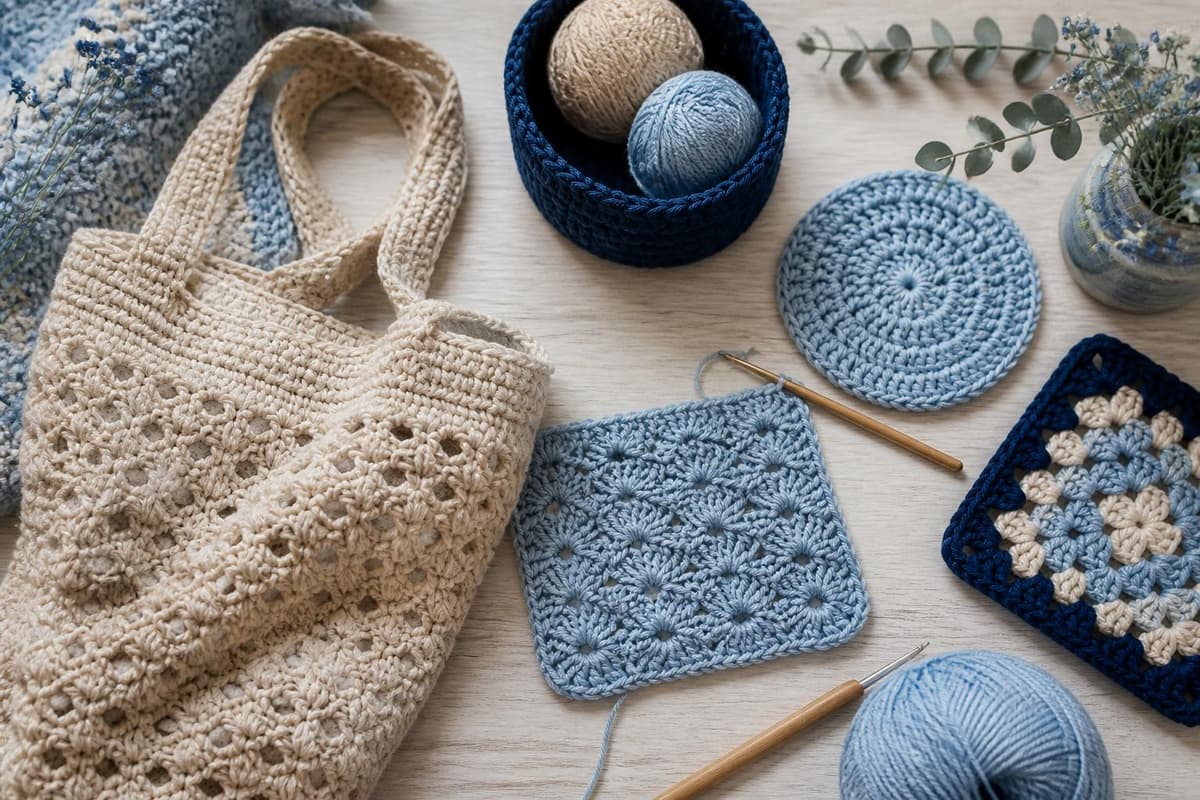
Now that you have learned how to make a granny square, it’s time to get inspired by some projects you can create. Granny squares are versatile and can be used in many creations, such as:
- Patchwork blankets
- Decorative cushions
- Grocery or tote bags
- Spring accessories like scarves or vests
Have fun creating combinations and experimenting with different colors and patterns to customize your projects. The more you practice, the more confident you will feel in your skills! Remember, the more you practice, the more skills you will develop, and the more confidence you will gain in your crochet abilities.
Tools and guides for your next crochet project
Learn a technique, follow a pattern and organise your work with Step by Step Crochet. Explore how each Android feature helps.
Keep your next project on your phone
Download Step by Step Crochet from Google Play. The app from Molly Digital is free to download and contains ads. Check the official listing for the available version.
Get it on Google Play